

All photos captured by Lynda Quintero-Davids.


Two days before the move, Kathy and Gina had measured most of the studio, so that Gina could input the info to come up with a CAD drawing. The Associate Producer, Lauren, also asked me what I thought of the current layout and if I could come up with an option for Julie and the crew to choose from - so I did what I usually do - I came up with Option A, B, and C. We had a meeting the following day, and we all agreed it would be between option C and Gina's plan, so both plans were faxed to Julie. And even though Option C was chosen, we tweaked it along the way. And the camera crew also has done some tweaking for depth in their shots...
Yes - Laugh. I don't know CAD - but I can
sketch, cut & paste the hell out of any space plan and
help move it to make it happen! =)
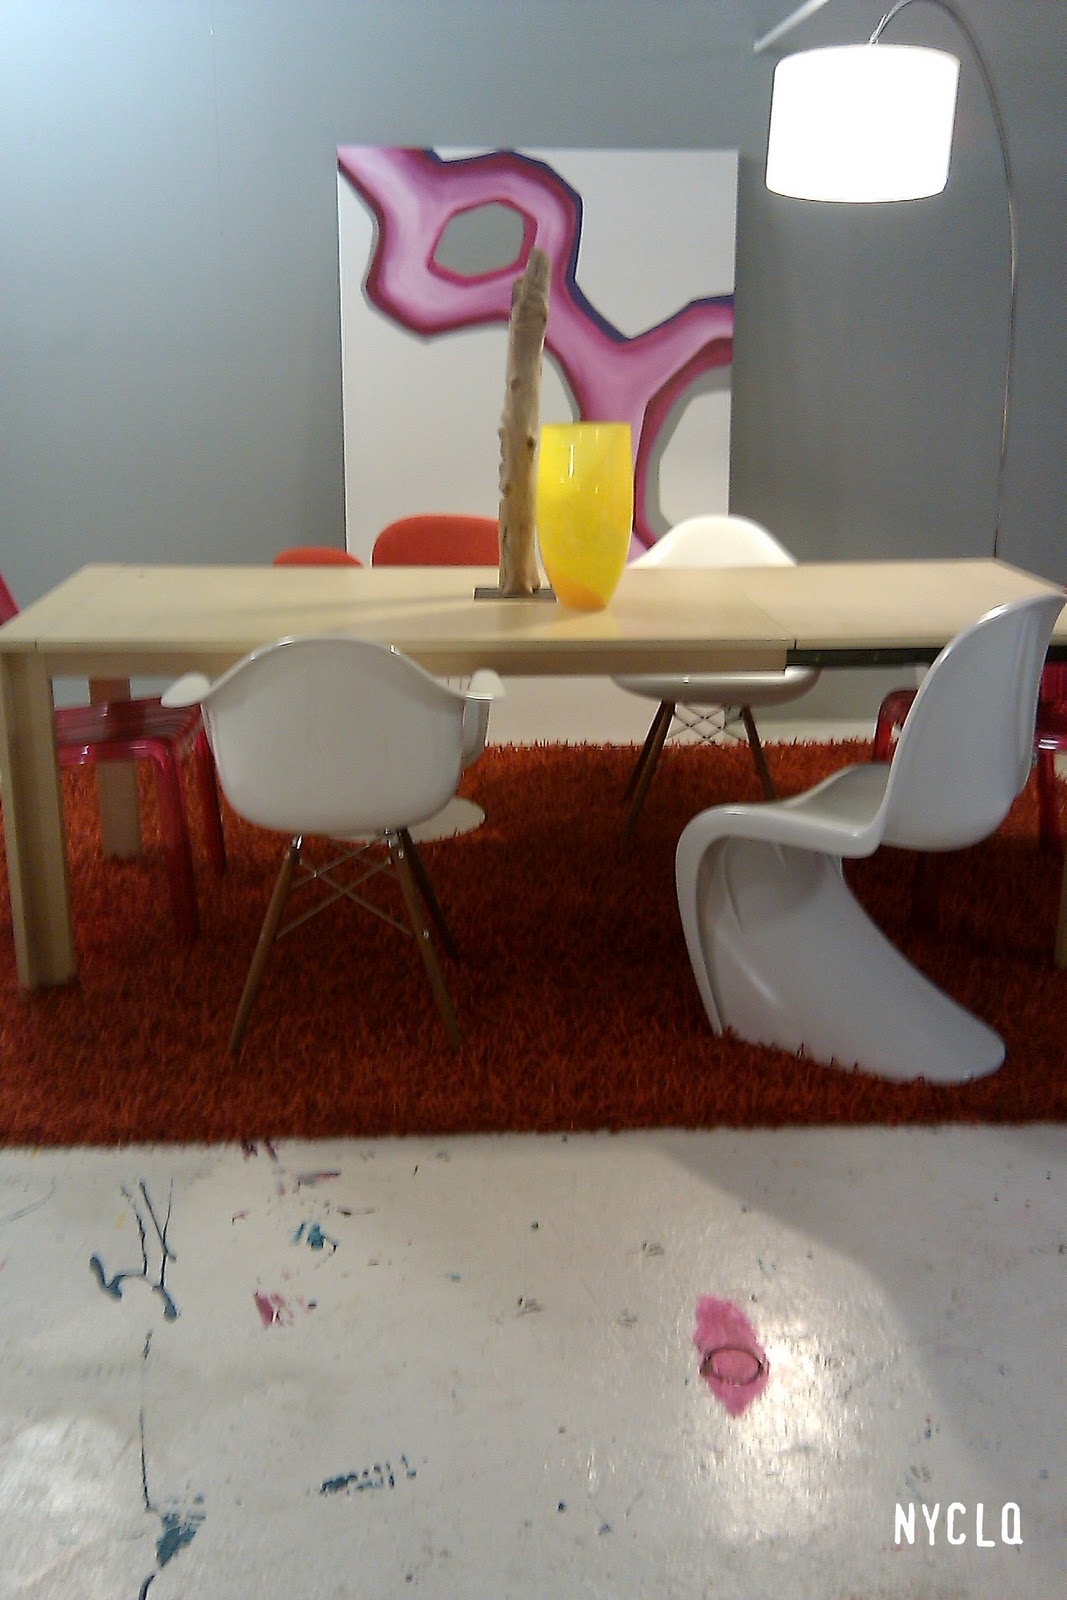
The A, B & G plans were rather safe - lining things up to the wall and boxing off areas, but for option C I had utilized what I remember a teacher telling me - "Don't always play it safe" and "Whenever you're given something, go with it don't fight it." Keeping that in mind, considering the open loft space and taking a cue from the current layout, Option C incorporated "floating" spaces by using 45 degree angles. I use to do it in the store as well, and for some reason, angles get met with resistance. However that may be, the space still turned out amazing after we were done moving it around, cleared the clutter, and created a few vignettes...


Although I did try the angled seating area and adjacent office table, I was was out-voted (and I'm the newbie so I didn't argue). I moved forward to work on the two wall units, unloaded the two carts of stuff we had emptied off them to move them, and styled the shelves to reflect the creativity in the space. To help empty out the office (to be revealed later) I was going to utilize some of the accessories paired with all the sample books. Patricia got a jump start on that by bringing over all the extra pillows out of the office storage. I brought over some of the unlabeled paint cans - in black to help ground all the color and give weight along the bottom on the unit. Bringing over the two orange Bobby Berk chairs helped create a possible new area to film "Options" in (which they did and I got to see in action yesterday!! VERY cool!)


Patricia had the brilliant idea of grouping the rest of the paint cans by color blocks, and labeled all of them with simple grey duck tape and a black marker (I love when things are organized!! And this now is!!). The silver and black cans give an industrial look to David's new painting area, and also framed the window by using them on either side. It also created a great little nook to stack all of Davids canvases - which were removed from all their shopping boxes. The added bonus: both paint can fixtures are on wheels so it makes it easier for the camera crew to move around for a shot if needed.


Metamorphosis Monday - Between Naps On The Porch
Project Parade - DIY Showoff
Keeping It Simple - Motivate Me Monday
Dittle Dattle - Amaze Me Monday
Patricia had the brilliant idea of grouping the rest of the paint cans by color blocks, and labeled all of them with simple grey duck tape and a black marker (I love when things are organized!! And this now is!!). The silver and black cans give an industrial look to David's new painting area, and also framed the window by using them on either side. It also created a great little nook to stack all of Davids canvases - which were removed from all their shopping boxes. The added bonus: both paint can fixtures are on wheels so it makes it easier for the camera crew to move around for a shot if needed.

Speaking of organized... here's some more details of the studio makeover...

David's Painting Supplies

David's Painting Supplies
Mobile office supplies:
I picked up this glass tray at Ikea for 9.99
along with some glass vases to hold pencils from HomeGoods.
One of two studio work tables

Utilized 3M Command Hooks to hang 3M headsets off column.
It's been a VERY cool experience to see behind the scenes of how a show is produced, all it takes to "get the shot", moving the studio around to create depth in the shots, and the importance of lighting....

Sofa angled to create depth.

Babushkas moved to float and add color.

Multiple lighting sources.
Hope you enjoyed the Color Splash Studio tour. As with any makeover for anyone, who it was for is HAPPY and that's what matters most. Yesterday, while I was helping clean-up over at the makeover house, David paid me a tremendous compliment that made me VERY happy. He said, "You're so neat and organized - I love it!"

Studio Office - Before
The office got a little tweaking too... I'll show that next week.
Today I'm off to thrift because Faith Farm is having a SALE!
Have a wonderful weekend!
LINKING POST TO:
Metamorphosis Monday - Between Naps On The Porch
Project Parade - DIY Showoff
Keeping It Simple - Motivate Me Monday
Dittle Dattle - Amaze Me Monday
Amazing project!
ReplyDeletexo xo
It looks amazing Lynda how on earth did you turn things around so quickly you must have worked your socks off. Bet you feel really excited now. Well done you!
ReplyDeleteHave you tried plan 3D its an online cad system think its only about £25 for the year (not sure what that is in dollars) its pretty easy to use why dont you give it ago....when you actually have time that is!!
ReplyDeleteLove the make-over -- the colors and the styling are energetic and fun!
ReplyDelete~Amanda
Great makeover.
ReplyDelete